Well my
P&P Engineering rear recovery points came in today. I know there are some sets of similar items floating around from a prior group buy. But I already had these on order when I heard about the group buy ones. Alas.
Took about 2.5 hours for this novice to get them in.
The powdercoat was pretty banged up when I unpacked them from the box, so that didn't make me happy. Also, the templates for cutting the holes in the bumper were inexact. And the replacement bolts were about .002" larger outside diameter than stock (but same thread pitch). This made it quite worrisome getting them in. I'm still not sure if I've got one of them crossthreaded.
However, I'm pleased with how they came out. The weatherstripping makes for a very clean look.
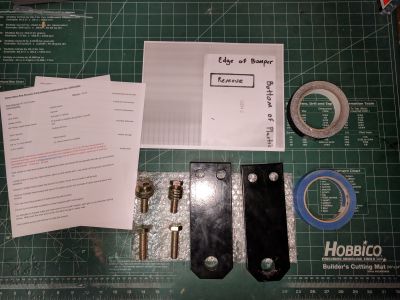
What came in the box (and the instructions and template I printed), weather stripping not pictured:
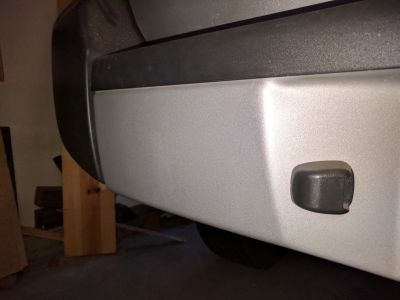
Left side bumper before:
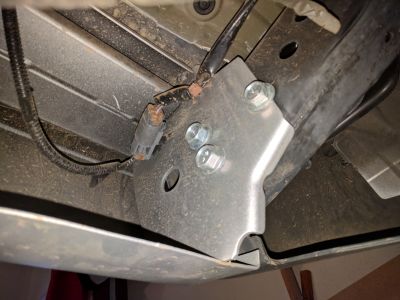
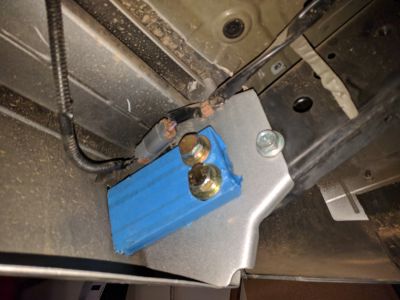
Where the bumper mounts to the frame. These recovery points only use two bolts, so the third bolt kept the bumper in place throughout.
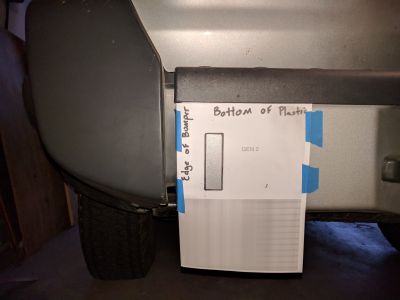
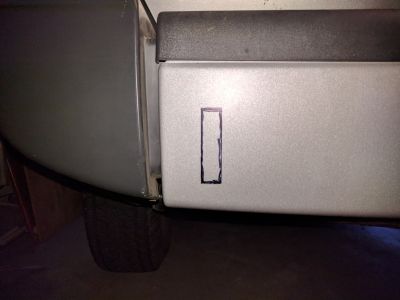
Marking where the hole (supposedly) goes:
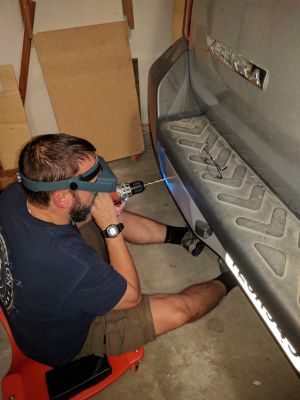
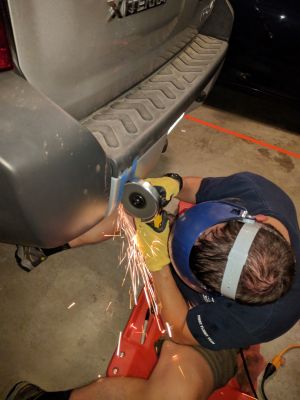
Drilling corners, and cutting the hole:
Peekaboo bumper bolts:
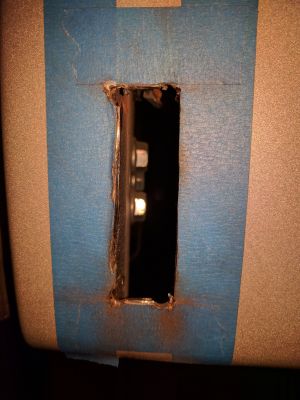
Working through fit checking, I found that I needed to expand the right side of the hole quite a bit. This was an inconvenience, but not a problem.
I also had a lot of trouble threading the new bolts into the frame. I found the new bolts are .002" larger in outer diameter, but have the same thread pitch.
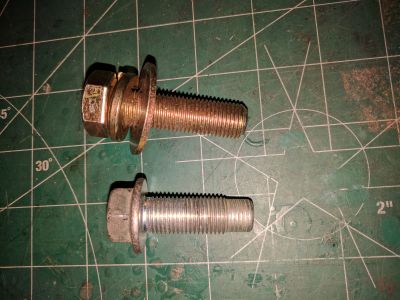
I figured my anxiety was due to lack of experience and pressed on.
Fit check complete!
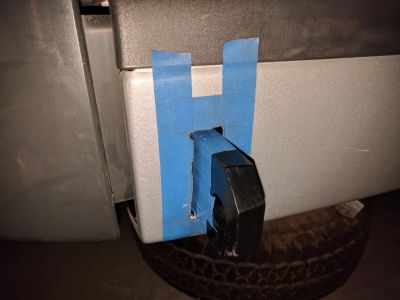
The gaps look pretty terrible, but the weather stripping compensates nicely:
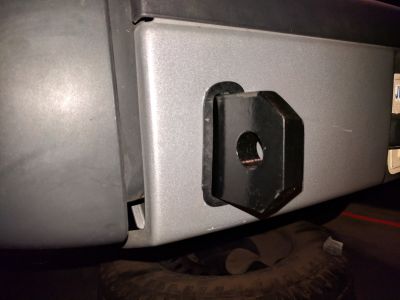
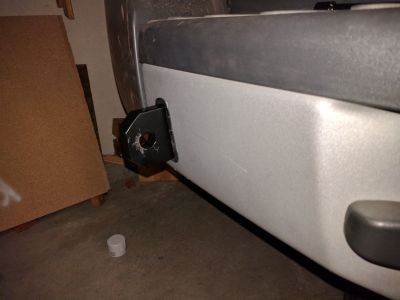
The right side was similar to the left, and voila, done!
Shackles on, ready for action:
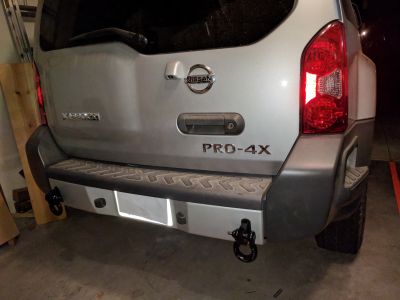
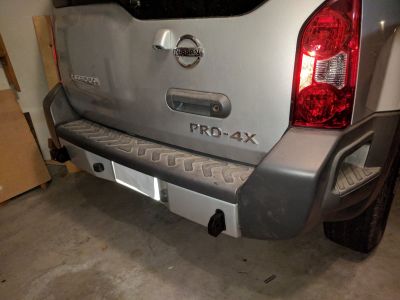
Slightly more subtle, for suburbia:
Obligatory shot of sparks flying:
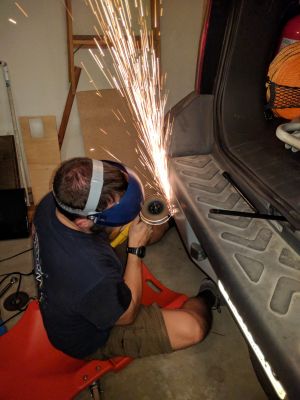
Glad that's done. I don't actually care much for cutting holes in my cars, turns out.